


As you’re getting better, help other students in the Facebook group. A great way to learn is to teach someone else. Explaining something forces you to organize the information in your mind and helps you remember it.
Make sure to check out the last lesson on anatomy and structure for the ears before continuing.
In this lesson, I’m going to introduce a concept called shadow mapping. Basically during shadow mapping you focus on defining the shapes and edges of the light and dark pattern. But first, let’s start with the very important, linear layin.
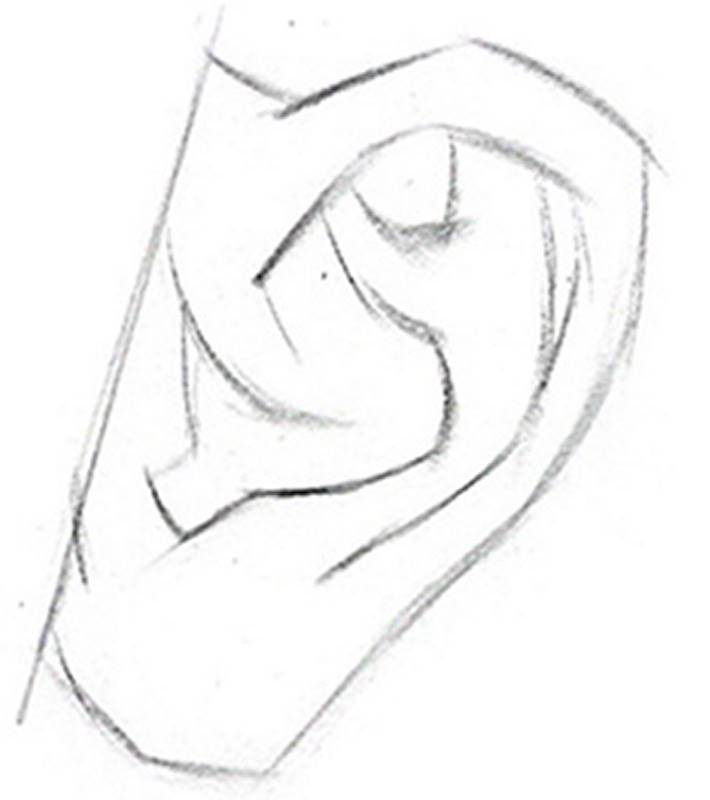
Step One – Layin
I’ll start with the angle of the connection to the head. and find the biggest shape of the ear, focusing on getting the width to height relationship and the correct angles of the plane changes.
Now I’ll focus on the complex shapes inside the ear. Make sure to constantly compare shapes to the shapes around it. Keep checking angles and the size relationships of the shapes.
Breaking up the curves into segments of straights makes it easier to design and draw accurately. also, It’s ok to exaggerate shapes if you think it will make for a better design.
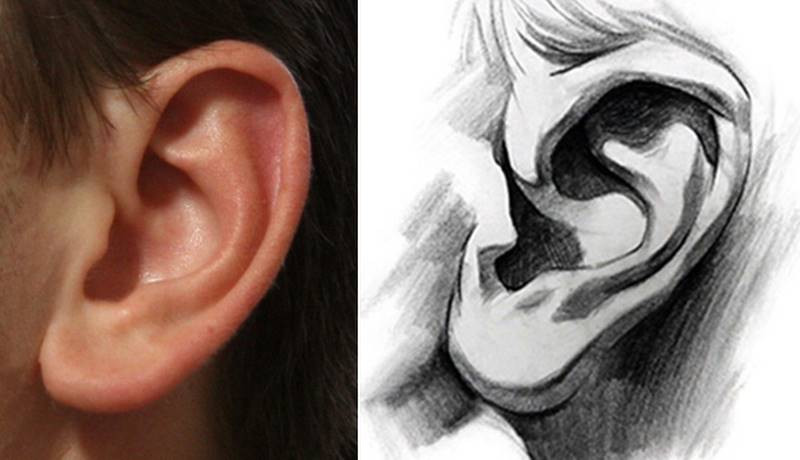
Step Two – Shadow Mapping
The linear laying I have so far, doesn’t change, no matter where the lights source is. It simply indicated the forms. During the shadow mapping stage I’ll focus on the specific shapes cause by the light.
So, I always start by evaluating what angle the light source is coming from. In this case, looks like its at the top left.
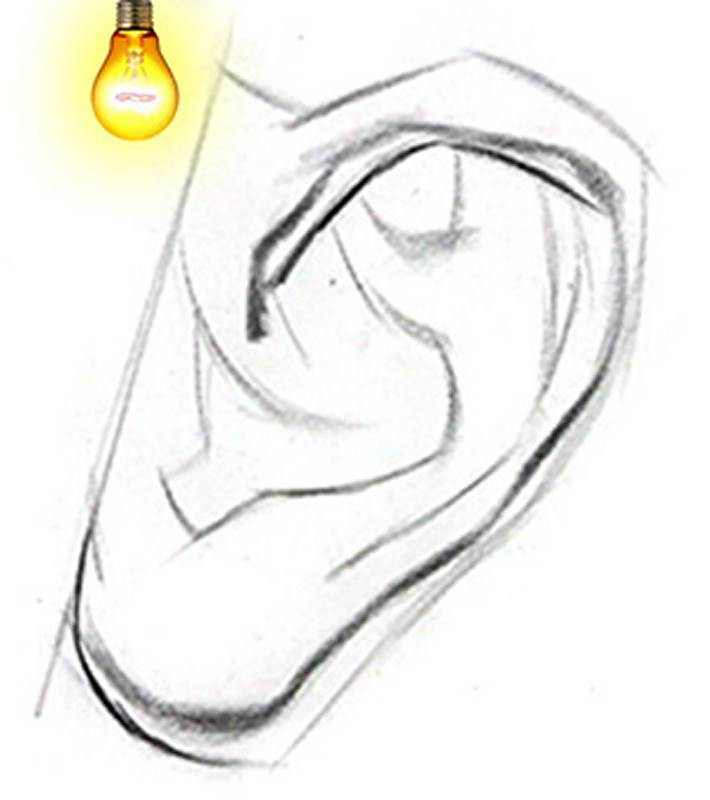
As I map the shadow pattern, I will be indicating either a core shadow or a cast shadow. The core shadows will usually have a soft or firm edge, whereas cast shadows will usually have a very sharp edge.
So, simultaneously I’m indicating the shape of the shadow as well as the edge of the shadow.
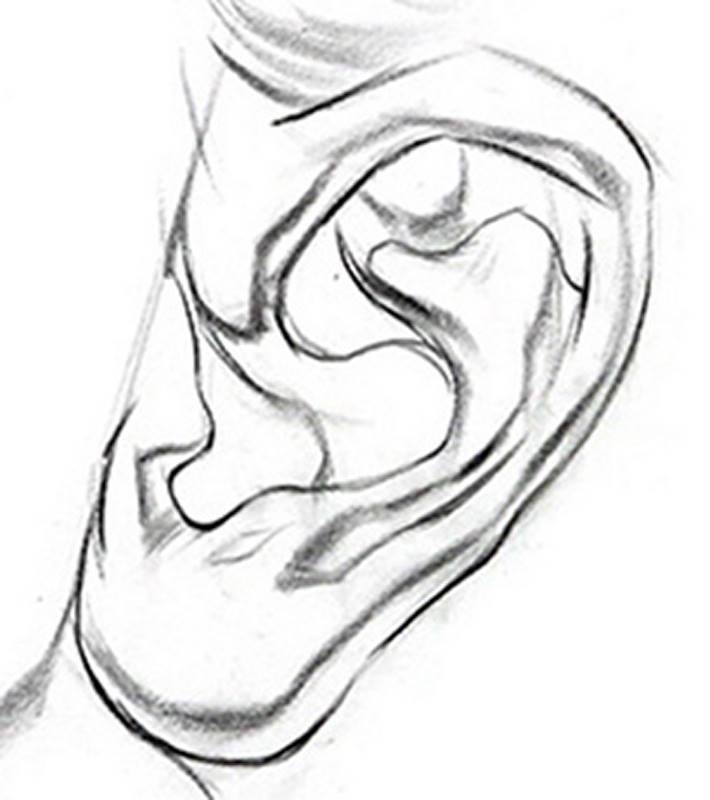
Step Three – Separate Light and Shadow
Separate the lights from the shadows. Stay simple and don’t lose control of your values. Try to ignore all the dark halftones and only fill in the shadows. Remember, reflected lights are part of the shadow family. So fill them in as a shadow. The way to make them look like reflected lights is to darken the areas around them, not by lightening them. If you lighten them, they will become part of the light family and that will hurt the form.
A very good guideline to follow is “The darkest light, is lighter than the lightest dark.”
In other words, never make your reflected light lighter than your halftones. Of course with the exception of very reflective surfaces like metal and water.
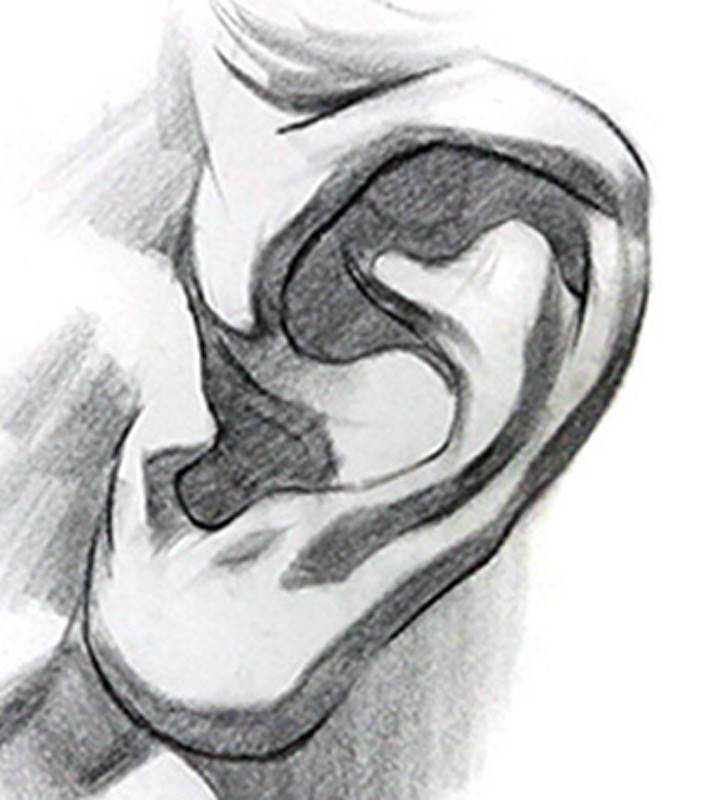
Step Four – Occlusion Shadows
In the deep crevices of all these forms, I’ll add the dark accents of the occlusion shadows.
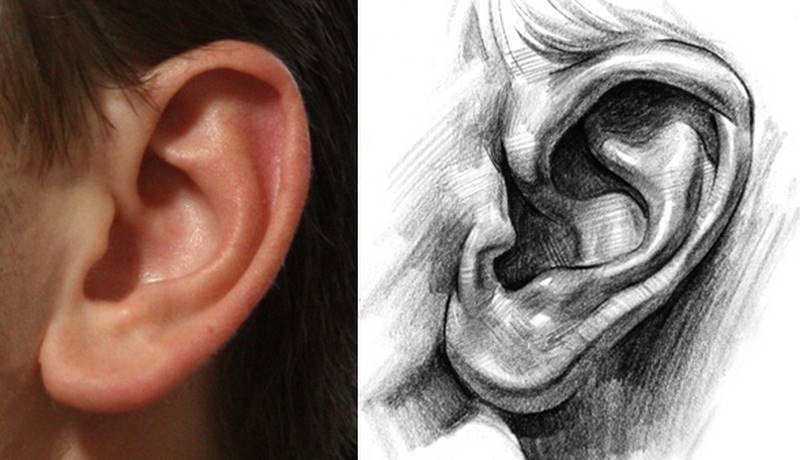
Step Five – Highlights and Halftones
In the final stage, I’ll add some smaller planes in the lights with halftones and defining highlights. Most of the volumes in the ear should be shaded like organic cylinders. Make sure these volumes feel round.
Draw the Ears
Take a picture of your own ears or find some good photos online (get some with clear light and shadows). Follow my step-by-step lesson to complete the drawing. Rewatch the lesson to review all the anatomical details. Those take a few times to understand. Draw the ears from multiple angles


