Direct light terminology explained
In this drawing lesson I will show you the step by step method of how I draw an eye. Before you attempt this yourself I recommend you watch my previous video in which I cover the structure of each individual part of the eye.
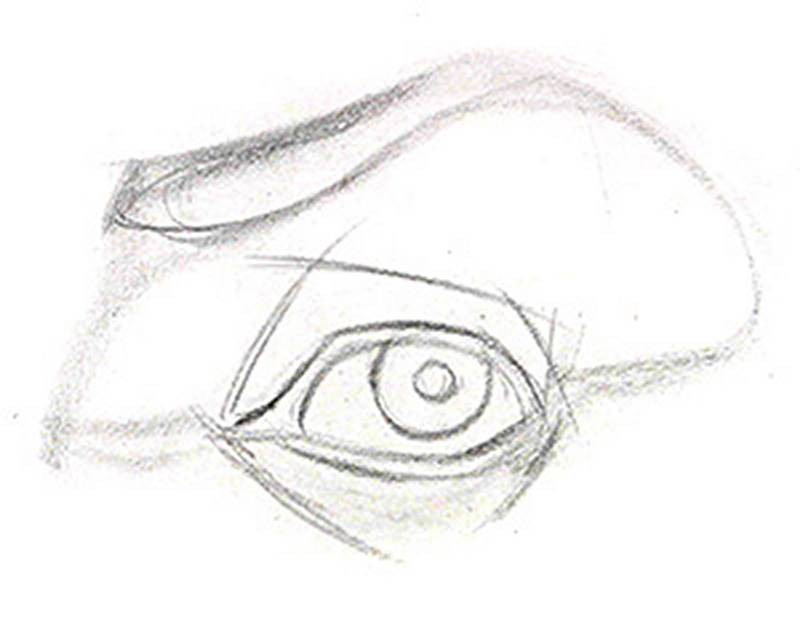
Step 1 - LAY-IN
So, every drawing starts with a layin. This phase is usually linear and is focused on proportions and shape design. You want to make sure the the major shapes are the right size and in the right place BEFORE you start adding details.
Most of the time, my layin process involves starting with the biggest shapes and then breaking it up into smaller and smaller shapes. So for an eye, the largest shape, is the eye socket. Start with the angles of the eye brow, side of the nose to bottom of the lid and back around to the side of the socket.
I like to group the lids, sclera and iris into one shape at first. I feel that it’s easier to get this shape accurately placed inside the socket, instead of drawing all the pieces individually. I make sure to observe all the angles of the plane changes.

Then, I can break down this group into it’s smaller pieces. When you’re drawing the lids, make sure you include the bottom plane of the top lid and top plane of the bottom lid. This will show the thickness of the lids.
This eye is looking directly at us, so it will be a perfect circle. Usually the top lid will cover more of the iris than the bottom lid.
Don’t forget about the thickness of the eyebrow and make sure the distance from the brow to the top lid is correct.
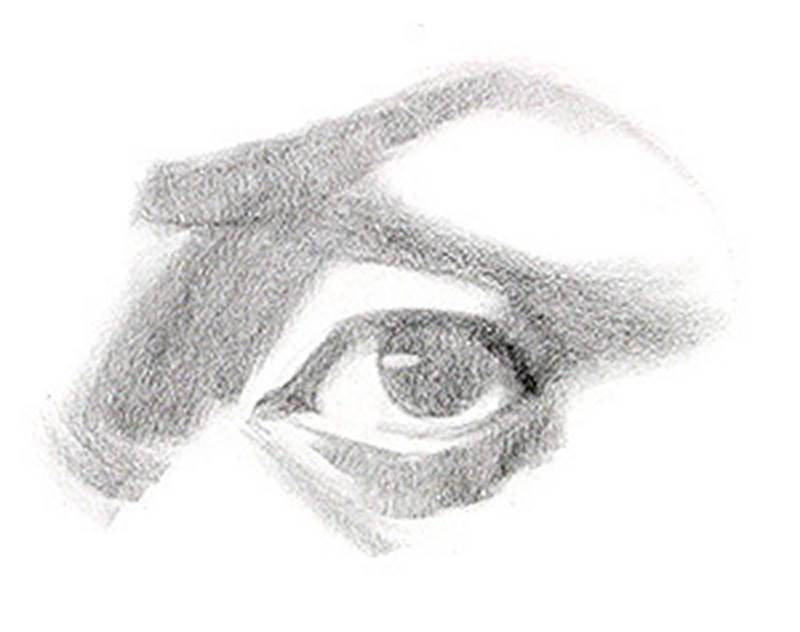
Step 2 - TWO-VALUES
The 2 value stage is very important. Most people want to jump ahead and start rendering details. If you’re advanced, you can do whatever you want, otherwise, I suggest simplifying the process. The 2 value stage involves separating the areas that are directly lit from areas that are in shadow. To clarify, halftones are considered part of the lights, and reflected light is considered part of the shadow. If this terminology isn’t familiar to click on the link at the top of this post.

So, I’m observing the light pattern and trying to design those shapes. This stage should look clean and graphic. You should only have 1 value for the lights and 1 value for the shadows. My shadow value is usually around a 4 on the value scale.
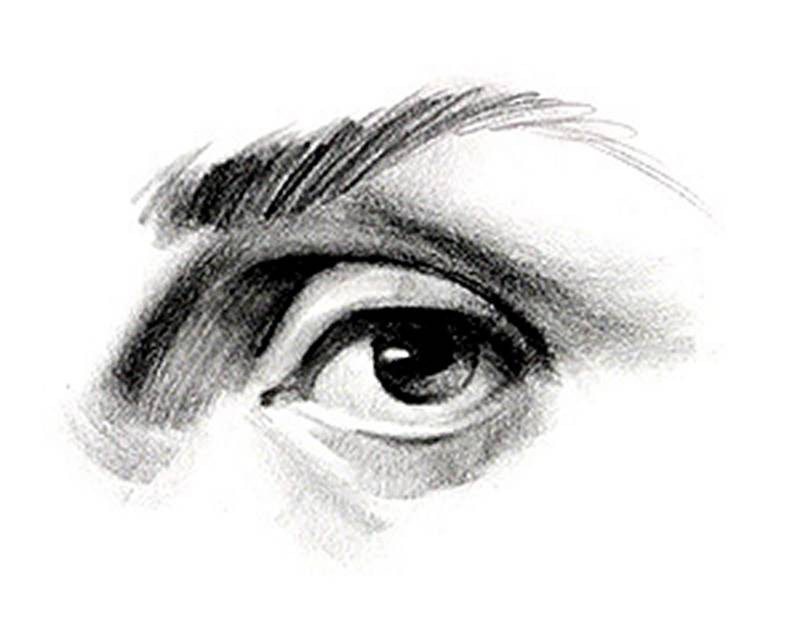
Step 3 - FULL VALUE / DARK ACCENTS
Now I’ll put in the darkest areas of the drawing. I do this to establish my value range. Meaning, I have the darkest and lightest values in my drawing. You’ll typically find the dark accents in core shadows, deep creases, like on the top lid, and areas that have a darker local value, like the hair of the eyebrow.

After putting in the dark accents, you start to see the reflected light in your drawing. Notice that I didn’t erase the reflected lights to make them lighter, I just darkened around them.
Step 4 - HALFTONES and HIGHLIGHTS
At this point, I switch to the lit areas of the drawing and I focus on the gradations and plane changes to make the forms read a little bit more 3-dimensionally. If you find the highlights, then you’ll know that everything around them just needs to be a little bit darker as the planes turn away from the light source.

Step 5 - CLEAN UP EDGES AND SHAPES
Finally, I’ll go through the whole drawing one more time and clean up anything that I think can make the forms read better. I’ll sharpen some edges, clean up shapes, and maybe add some more details.
So, for example I want to sharpen this cast shadow from the top lid and make sure that it’s shape wraps around the eyeball.
I’ll add some fuzzy eyelashes… and finished!

Draw the Eyes
Take a picture of your own eye or find some good photos online (get some with clear light and shadows). Follow my step-by-step lesson to complete the drawing. Rewatch the lesson to review all the anatomical details. Those take a few times to understand.
