You should watch parts 1, 2 and 3 of the hands series. This demo will be easier if you're familiar with the basic anatomy of the hand and process I taught in the last lesson.


In this demo you’ll learn all about drawing fists. This is a tricky pose that really requires a good understanding of the underlying anatomy. It's a lot of information crammed in a small space, which can get messy and confusing. Let's do it.
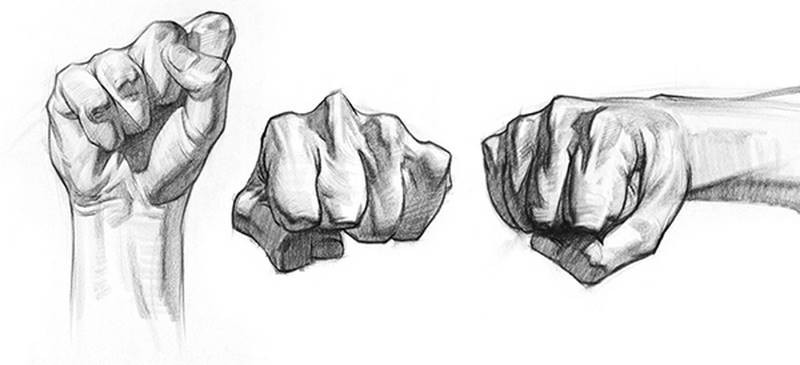
Basic Forms
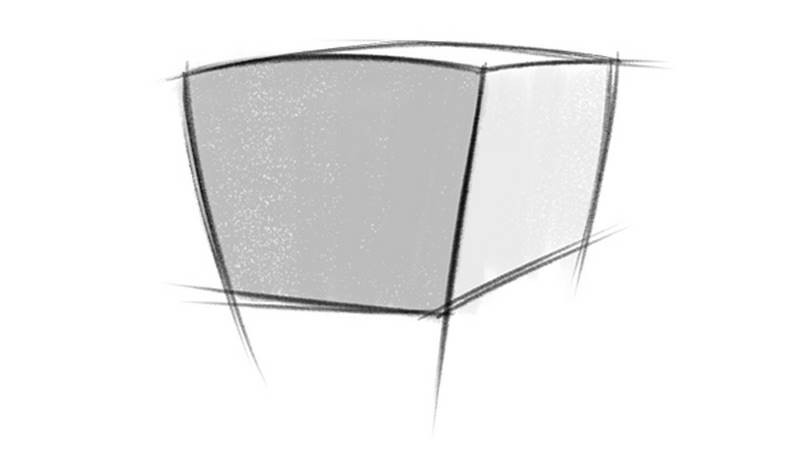
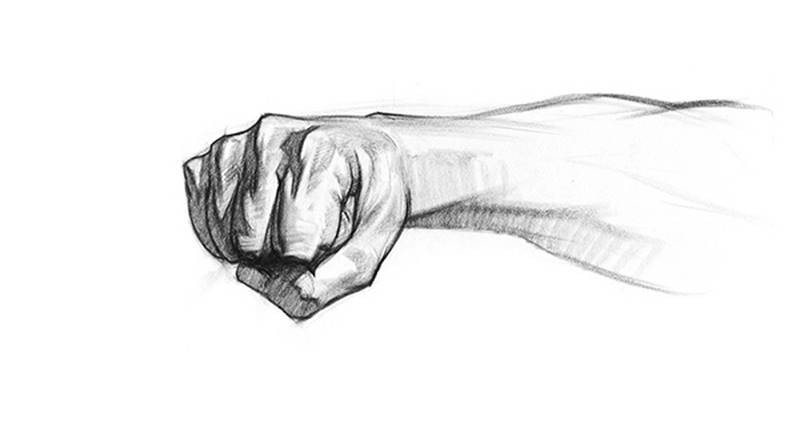
As you know, I always start my drawing by establishing the gesture, which indicates the movement of the pose. But a punching fist isn't dynamic. It's rigid. It's solid. The wrist is locked straight, so that it doesn't break on impact! If you're drawing a superhero fist, you want it to feel strong, like a brick. It's hard to give a brick a dynamic rhythm. It's just a straight line with a sudden end. But, that's not a bad thing. Don't think that everything has to be dynamic. Some things need to feel blocky and heavy. You don't want a fist to feel like jello. The rest of the body including the arm, can and should be dynamic. The fist, is a brick.
There is gesture in some of the secondary forms, the subtleties of the fingers as you’ll see later… But the big gesture is a bunch of built up energy inside of a box. So… From the very beginning, think about the big boxy shape.
One of the main anatomical rhythms is the rhythm across the knuckles. The middle finger knuckle sticks up the highest. We're going to draw the overall arc that describes the knuckles, instead of a wobbly line trying to get all the details right off the bat. Let's do the same for the second set of joints at the bottom. We already know that the middle finger knuckle is the highest. But what about at the bottom edge? In a relaxed fist, you'll get the opposite curve. Same reason - middle finger is longest and pinky is shortest. This shape is inactive and kinda boring. But, when I squeeze my fist tight the pinky and ring fingers move down, and we get a straight line across the joints. That's a much more interest shape. Curve on top, straight on bottom.
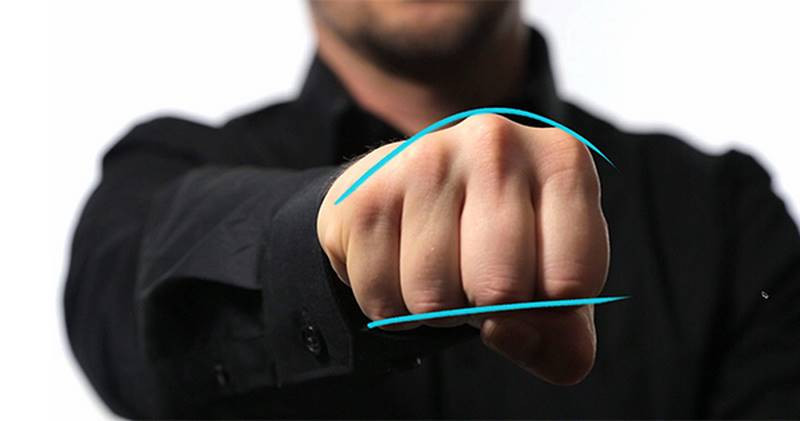
You can push it even farther for a parallel curve downward. It's a bit more dynamic, but it kinda loses some strength and stability. I wouldn't draw it like this for a punching fist. Maybe just if it's squeezing something really hard.
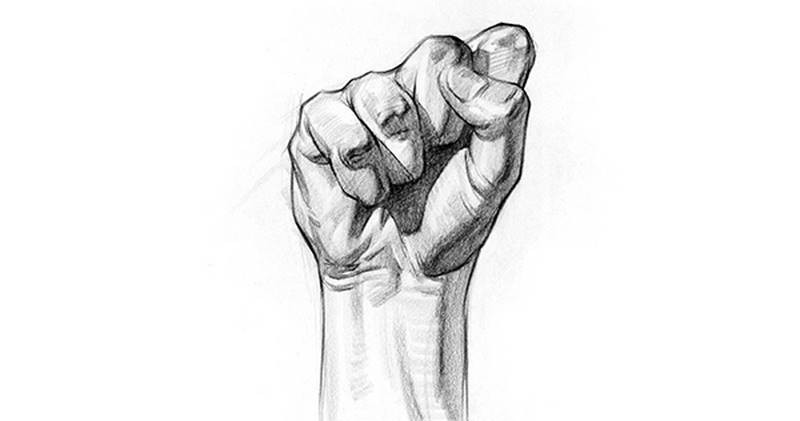
The pinky and ring finger rotate down when viewed from bottom angle (power-to-the-people fist). That big drumstick of the thumb prevents the index and middle fingers from moving down, but the pinky and ring fingers have a bunch of free space. They'll flex more to close the fist fully. If you're starting a revolution and you're gonna use the power fist as your logo, look for a downward curve through the knuckles to suggest a strong, clenched fist.
If you're drawing a fist bump coming right at the viewer, the top and side planes won't be visible. So, you'll just need to draw the front plane. Remember that the fingers are not parallel. They converge inward toward the middle finger.
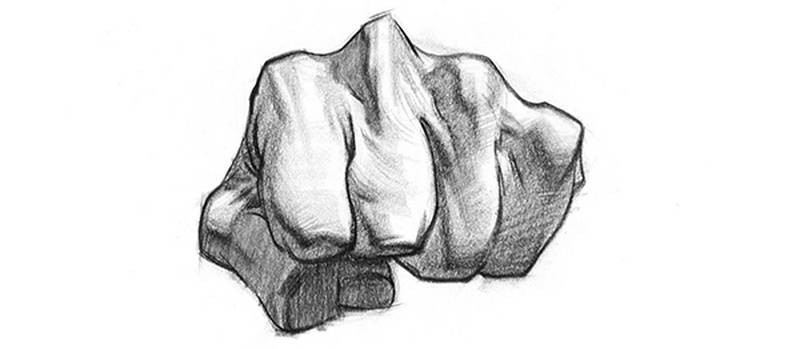
In this ¾ angle, let's indicate the box of the palm. It'll help us attach the thumb and fingers. We'll start the thumb by establishing that triangular base. Extend that cylinder and trowel shape. As you draw the thumb, look at the angle of the nail and notice how the thumb is twisted. It points downward at about a 45° angle.
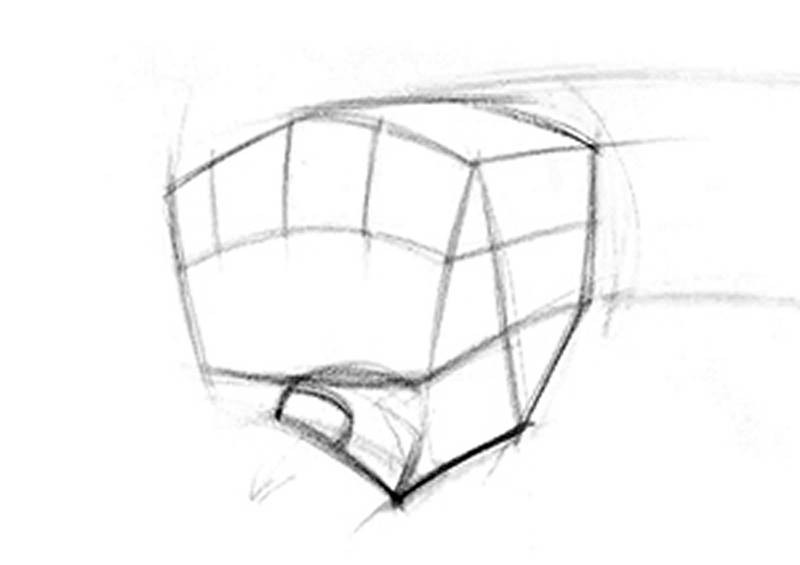
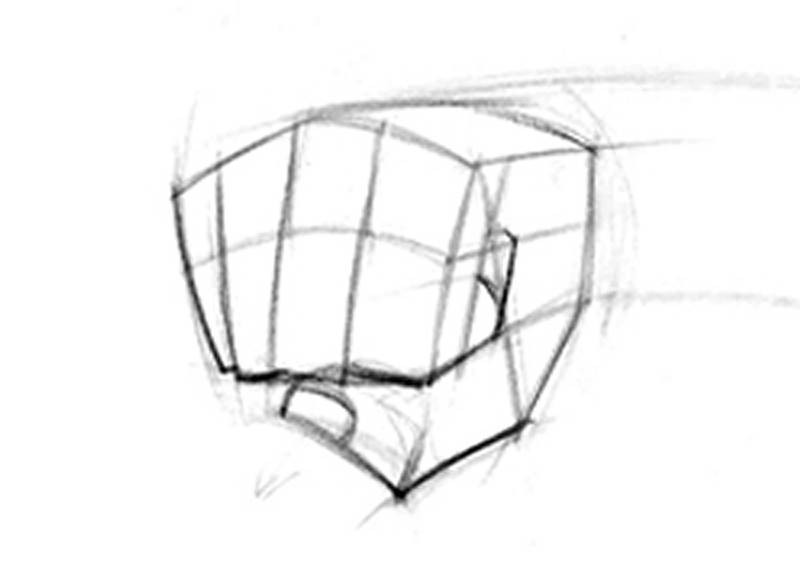
Alright, let's get the boxes in for the finger segments. Remember what I said about the pinky and ring finger rotating into the hand. From this ¾ angle, the index and middle fingers stick out a bit. The ring and pinky angle back.
We can only see the other segments on the index finger… The others are hidden inside the fist which makes it a lot easier on us.
Details
What we've been doing up until now is all underlying structure… The primary and secondary forms. The invisible stuff that people might not necessarily notice when they look at the drawing, but that's what holds it all together. Now let's address the surface of the hand. The details of the tertiary forms.
Let's start with the knuckles. Sometimes it helps to think of the knuckles as little knee caps. But let's look at the subtleties of the anatomy here. There's 3 layers of stuff.
- The bone. If you remember from the hand bones lesson, the top plane of the metacarpals is a flat trapezoid shape. Under it is a ball with which the first phalanx articulates. On the surface, you'll see that flat plane on top with a rounded protrusion in front. It'll taper down to a triangular shape, but that's caused by the addition of the second layer.
- The Tendon. The tendon travels over the bone and softens into the front plane of the first phalanx.
- The skin. It'll do two things. It'll soften the forms at the knuckles and it'll create a concave dip between the knuckles. It's not just a dip down along the top plane. It's also concave inward at the front plane. A recessed plane between the knuckles.
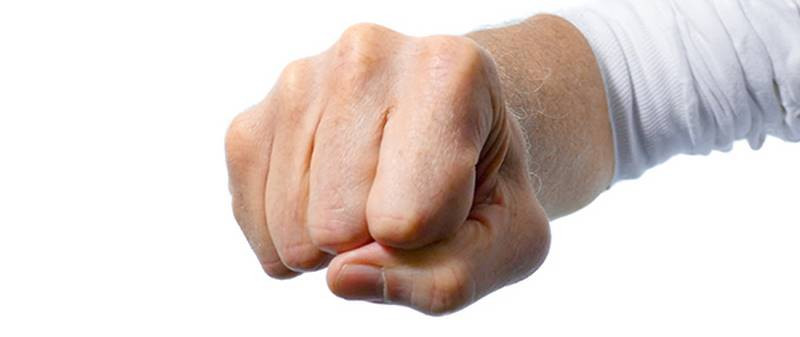
Now that we know the anatomical layers there, we can design the knuckles with context. With the tendon shifting around and the skin softening things, there's a lot of ways the knuckle contour can look. And we're artists, so we can emphasize and change things however we want. I look to add variety to the shapes. For example I can design a taller triangular shape for the middle finger knuckle, a boxy shape for the index, and smaller boxes or balls to the ring and pinky.
The creases between the fingers will start at the level of the bottom of the knuckles. Now, something interesting about these fat pads on the fingers. When you squeeze your fist really tight, the fat pads spread out out sideways, actually making the fingers wider. That will make this hand look even more masculine.
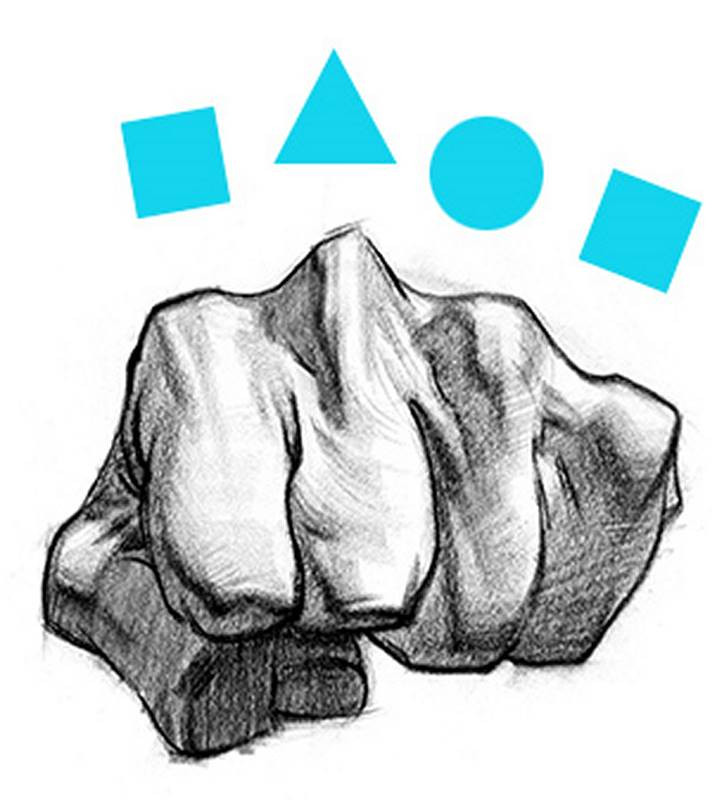
The skin creases are pretty intense in a fist cause everything is bending. When drawing skin creases use them to echo the gesture of the fingers, and really create a sense of clenching. This hand has lots of energy - we want it to look as action-packed as possible. We're capturing a second in time and we want the drawing to look like that: immediate, energetic, real. Not like someone was holding this pose for an hour and their hand got tired.
Okay, that’s a wrap. In premium, I have a lesson where I take you through the process of shading and adding details to the hands. I’ll also show you how to draw a hand that’s holding something, I’ll show you how to draw foreshortened hands and female hands. Don’t miss out on all the premium knowledge. Join the other Premium Proko People.


