


In the last lesson we learned the anatomy of the shoulder bones. If you haven’t seen that one yet, make sure not to miss it.
Pssst!
Hey, did you know that premium members get an additional 8 shoulder bone assignment examples? Pretty cool right?
Become a premium member today to get those 8 videos plus many more cool extras!
DRAWING 1
In this lesson we're going to draw the clavicle and scapula. In the previous lesson we went over all the anatomy of the clavicle and scapula, so if you haven't watched that yet, it might be a good idea..
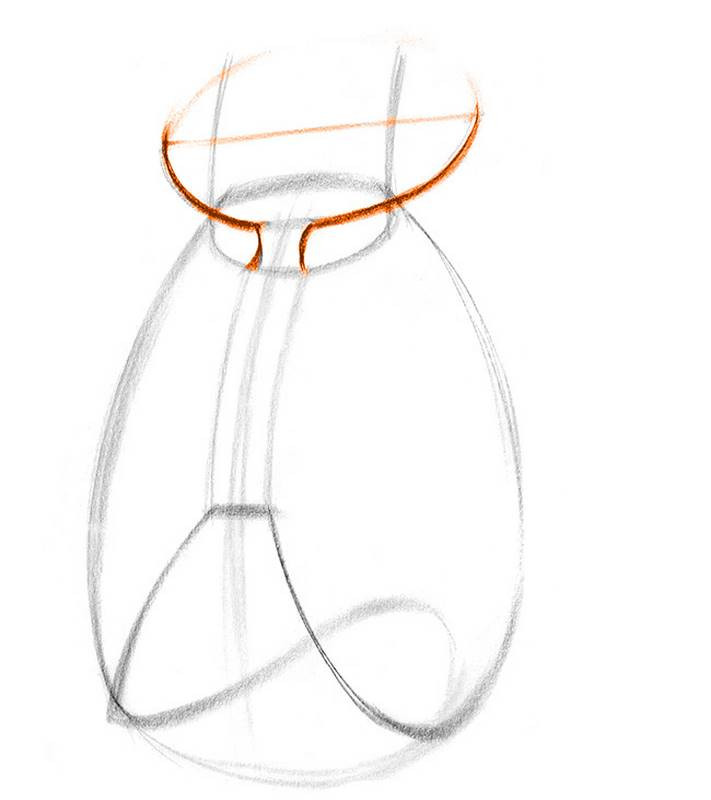
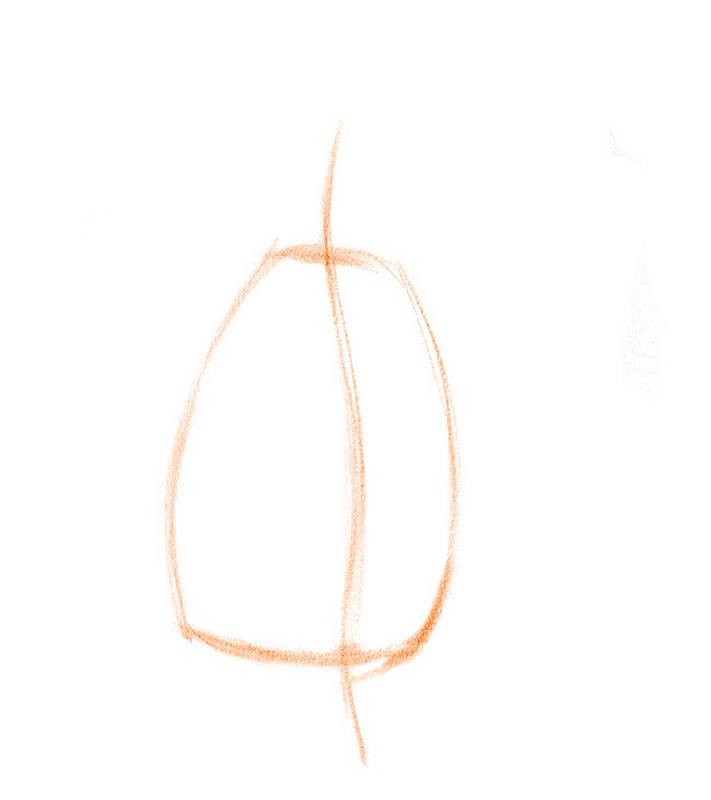
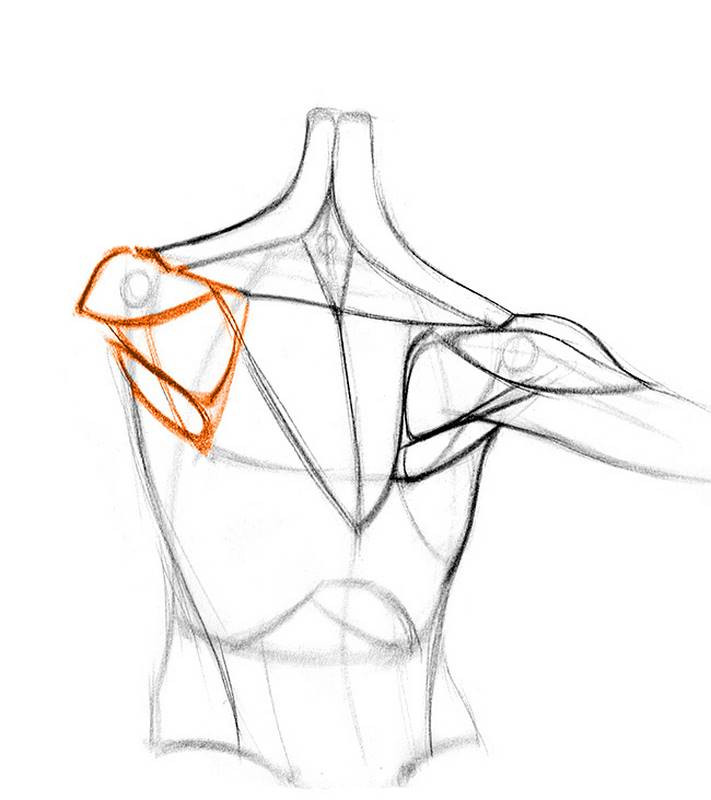
Let’s start with this front view. As always, I’ll start with the biggest shape.
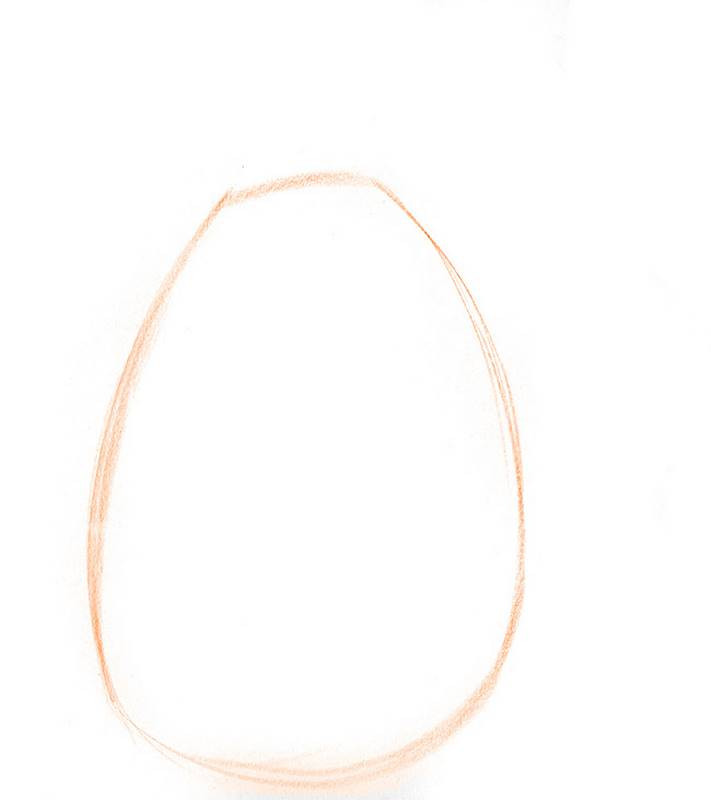
The basic shape of the rib cage.
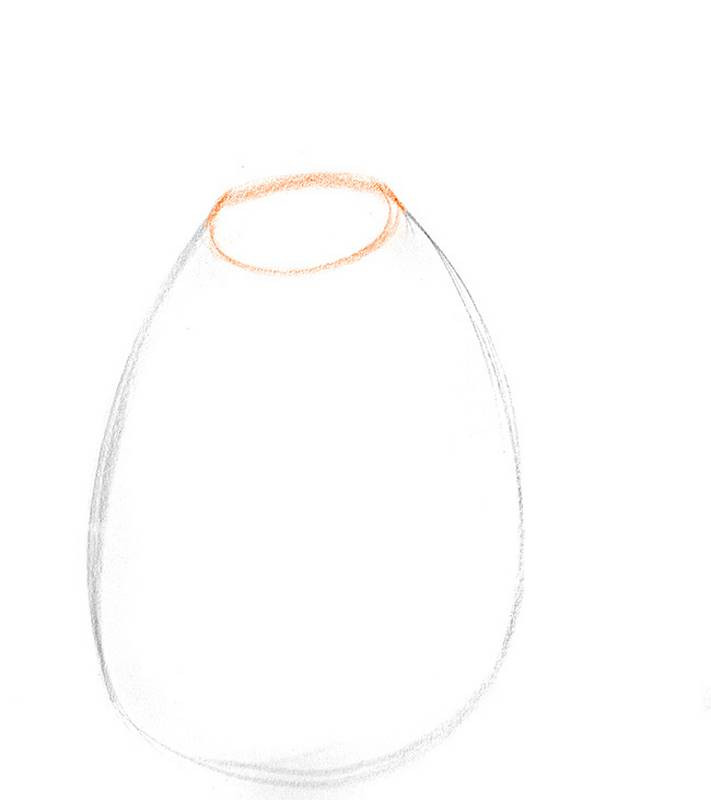
Simple oval for the top plane.
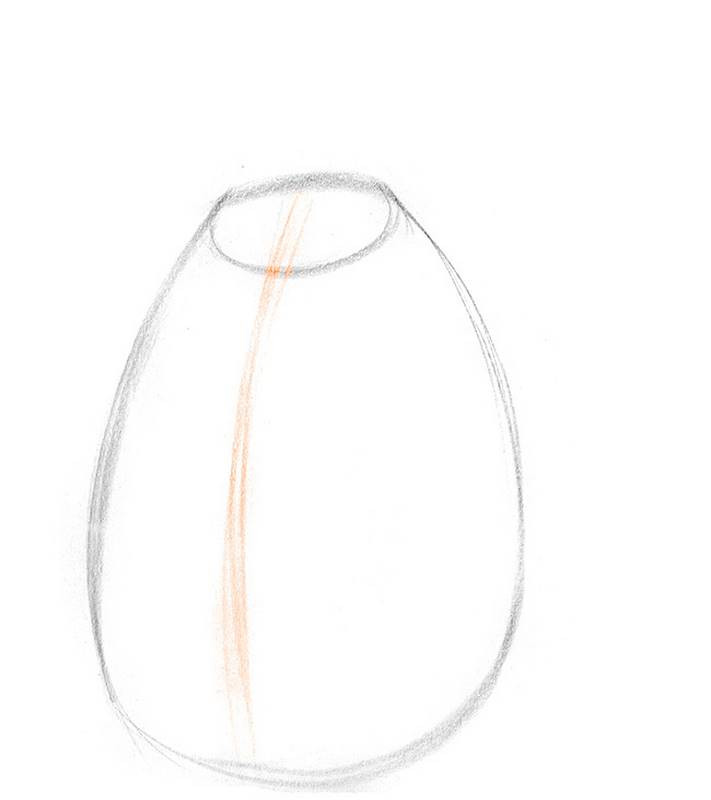
Center line, bottom of sternum.

Thoracic arch. Following the bottom plane to the back, around the spine and to the other side in the front.
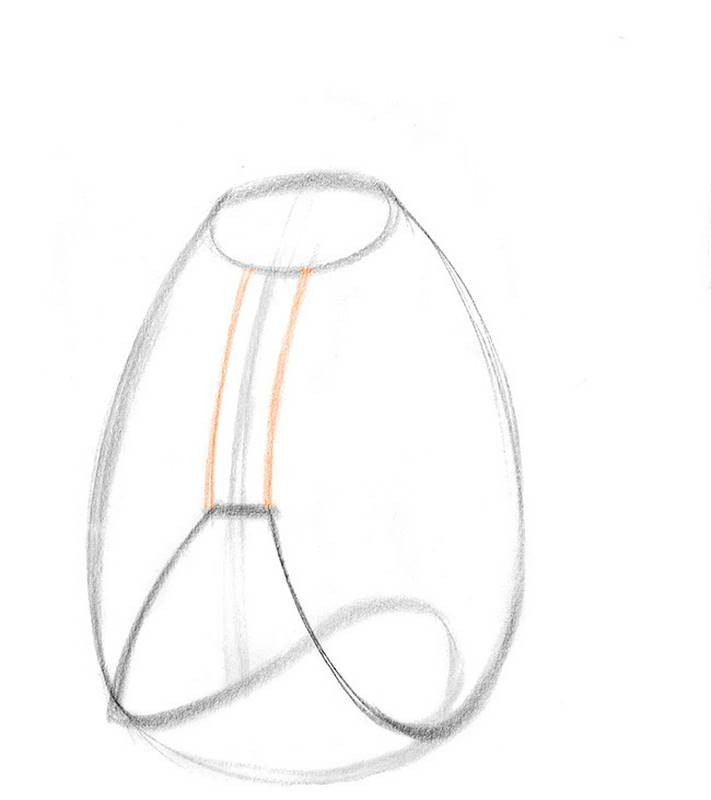
Width of the sternum.

Simple cylinder for the neck.
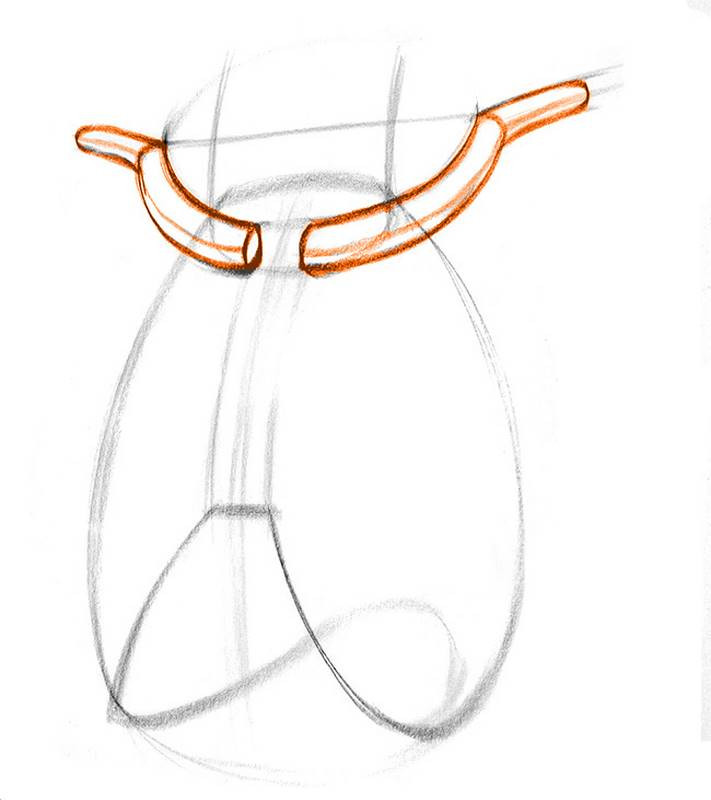
For this drawing, instead of breaking up the clavicles into 3 angles like I usually do (show clavicles and 3 angles), I’m going to combine the first 2 angles into a curved cylinder. A loop around neck. This will help me get the foreshortening right. His right clavicle points back away from us as it wraps around the neck. Yet, we see the whole length of his left clavicle.
Usually in a neutral pose, when we’re eye level with the shoulders, the clavicles won’t have that Cupid’s bow shape. They’ll just be a straight line. However in this pose, he’s elevating his shoulders. So the clavicles twist up from the pivot point at the pit of the neck. And so we’re seeing that cupid’s bow shape in this one.
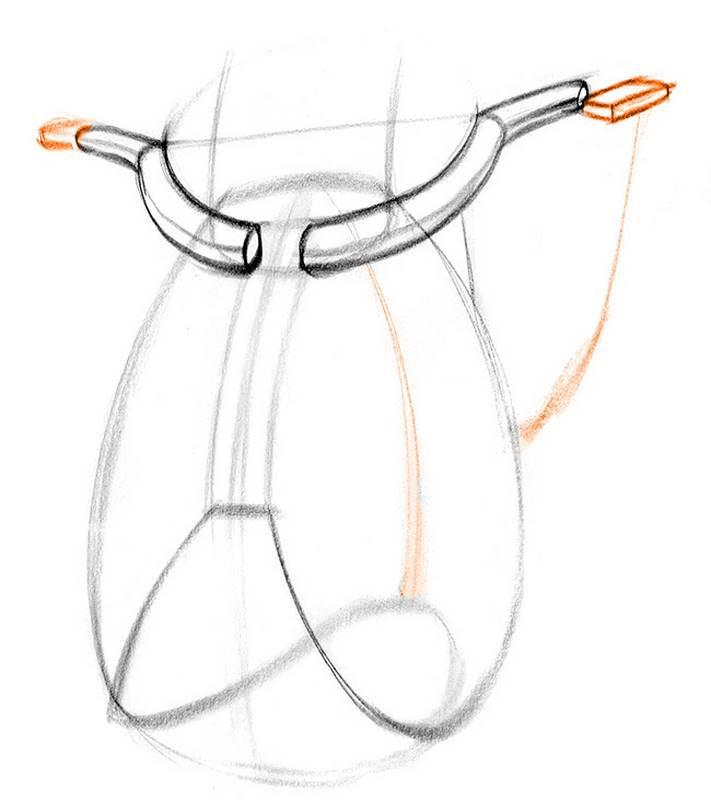
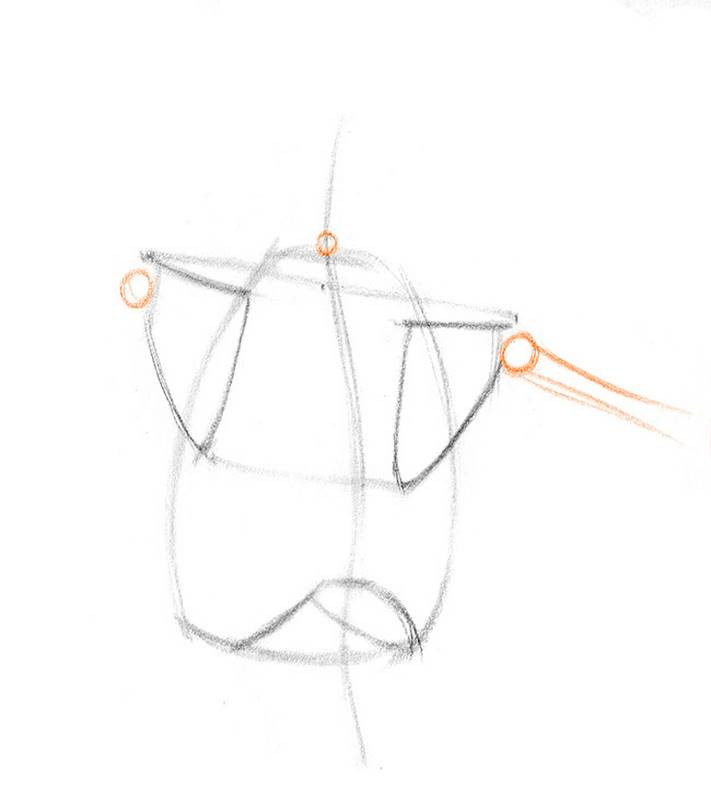
The distance between the clavicles is about the size of an eyeball. Angle between acromions… Angle of the outer third section of the clavicle… And complete that cylinder
Cylinder of the outer third, and of course you don’t have to simplify them into cylinders. You can be more specific with the planes and make them into boxes. Put a line in there to show the top plane and front plane.
Same thing in the other side. Start with a cylinder, then make it into a box. A little end cap for the clavicle.
Flat box for the acromion process. Now, I’m gonna find the scapula behind the rib cage, but first it will help to find the center line in the back. The center of the top plane in the back is here. The center of the bottom plane is here. Just connect them with a curve! So now this center line will help me place the scapulas because I can judge the distance of the medial border from the center line.
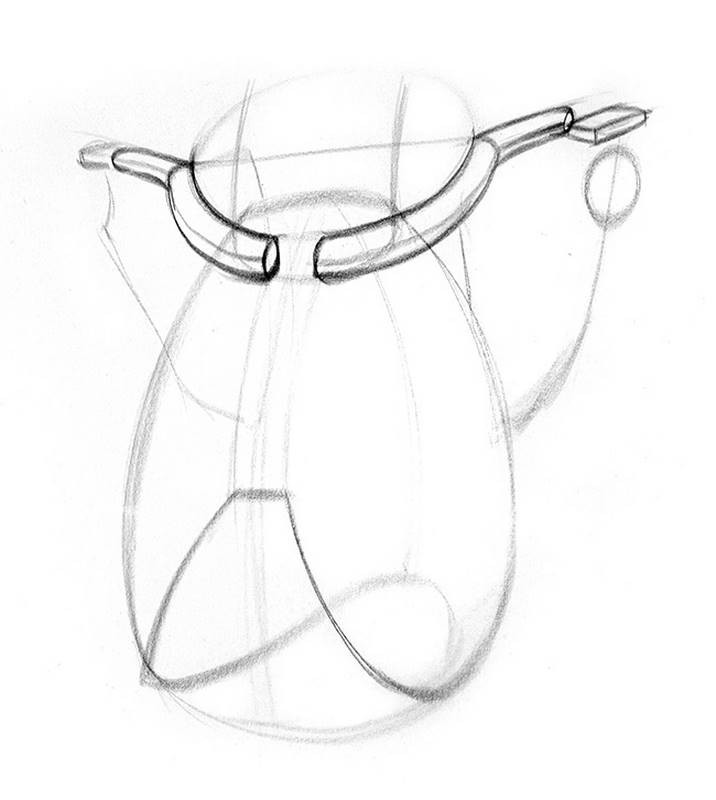
The scapula would be right about there. Half the height of the rib cage. And half of that away from the spine. Remember, the distance between the scapulas is about the same as the height of the scapula. So the distance to the spine will be half the height of the scapula.
Another flat box for the acromion on the other side.
Let’s not forget about the glenoid cavity. On this side is points away from us. So we’ll just see the edge of it. On this side it points right at us. So I’ll draw an ellipse. Scapulae don’t face the back. They angle toward side a bit as they wrap around the rib cage. Usually foreshortening will be different in each.
And the scapula on the other side.
DRAWING 2
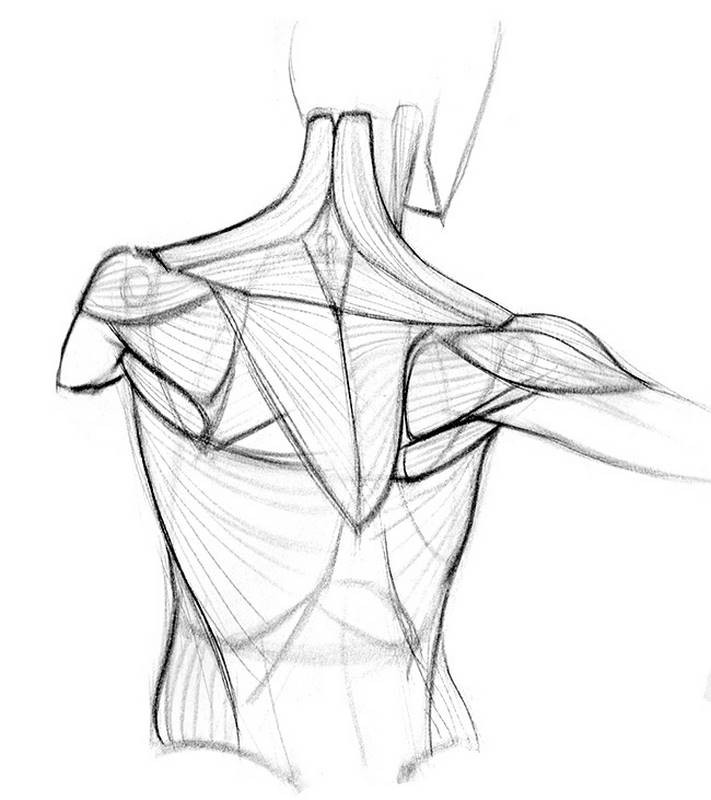
Ok let’s do one more, this time from the back. I thought this was a really good one to show the muscles of the back. It also has some movement as she’s retracting her right shoulder and protraction her left. So all the muscles will either stretch or compress to follow the scapulas. I’ll start with the bones and then at the end I’ll actually show you guys all the muscles of the upper back since finding the scapulas depends a lot on your understanding of these muscles.
Again I’ll start with the basic shape of the rib cage. Center line of the spine. And extend that line to the lower back and neck. It’s curving outward at the thoracic portion and inward at the lumbar and cervical.
Find the shape of the 12th ribs. Angle between the acromion processes.

Look for the flat plane at acromion right there between the trapezius and deltoid. From there, find the angle of the spine of the scapulas. Notice how much closer the right scapula is to the spine. She’s pulling her right shoulder backward and pushing her left shoulder forward. Angle for the medial border. And finish off the triangular shape of this scapula. Find an angle to the other side. It’s going to be parallel to the angle of the shoulders I found earlier since I want to keep the height of the scapulas the same. Indication for the 7th cervical.

I want to get a quick indication of the humerus, that’s the arm bone. A lot of back muscles insert at the humerus. So, I’ve found all the bony landmarks. Center line of the spine, 7th cervical, acromion process, spine of scapula, and the medial border of the scapula. Now drawing the muscles will just be about knowing where the muscles attach along these bony landmarks.
Let’s find the basic shape of the torso to keep the muscles contained. Sometimes it’s hard to keep the proportions accurate if you’re drawing one muscle at a time, so it’s good to figure out the large shape first.


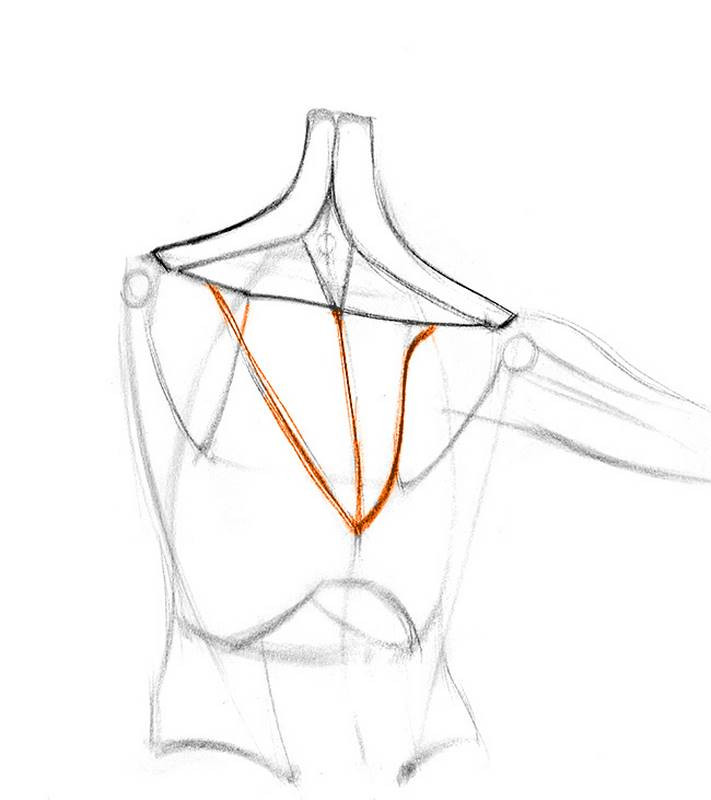
Let’s start with the trapezius. From the acromion, extend it up to the base of the skull. And down to the other side. The trapezius has 3 sections. We’ll go over it in more detail in a future lesson, but basically the first section drops from the base of the skull to the acromion. It flows above the 7th cervical. The second portion of the trapezius connects here around the bottom of the 7th cervical. Together, the first and second portions create a diamond shape around it. From there it connects along the top of the spine of the scapula.
Finally the third portion starts a bit into the spine of the scapula and stretches downward to the spine. Since she’s pushing her left shoulder forward, the left side will be stretched. The right side will be compressed as it’s squeezed between the spine and the scapula.
The muscle that will help you find the bottom corner of the scapula is the teres major. It attaches to the bottom area of the scapula and stretches toward the humerus. Now, it goes under the tricep of the arm, so make sure to get that overlap right. The two muscles above the teres major will go over the tricep. The teres minor is a really thin one and often you won’t see it. The infraspinatus is much larger, covering most of the blade of the scapula. Both of them go under the deltoid, which starts at the spine of the scapula and ends at the side of the humerus. And actually the deltoid has 3 heads – back, side and front. This one here is the back. The one on the side starts at the acromion and the one in front starts at the clavicle. All 3 of them insert at the side of the humerus.
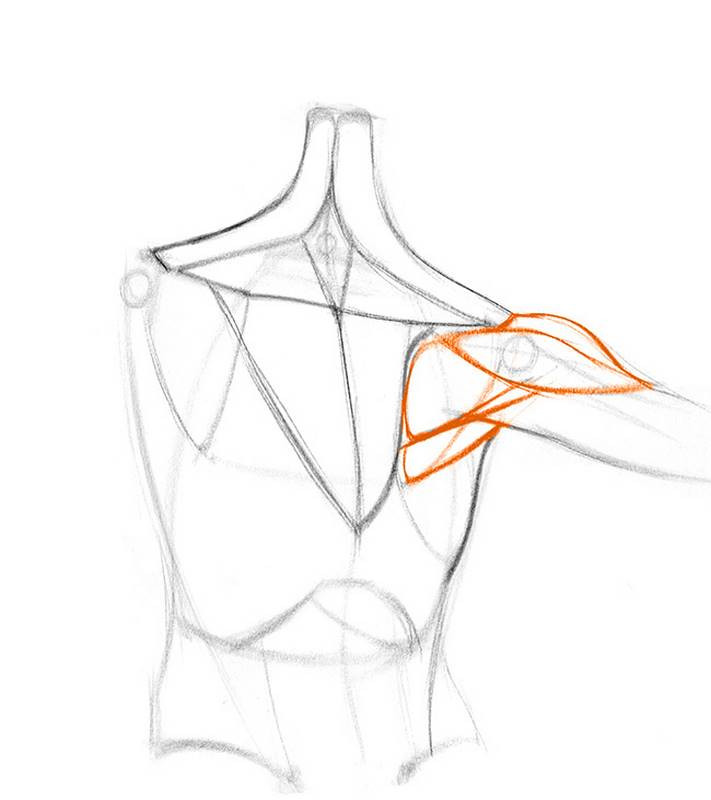
The layering here is quite complicated. Let’s see if you can remember it. The deltoid is on top. Then infraspinatus and teres minor. Then tricep. Then teres major.
And finally the latissimus, which actually goes over the bottom portion of the teres major, but then twists under and to the front in the armpit. Now let’s strap the lat over to the other side. And find the scapular muscles, starting with the teres major at the bottom. Deltoid over here. Infraspinatus and a bit of teres minor.
The latissimus and trapezius are really stretched on this side, so we have this triangular part exposed. Through it you’ll see a bit of the rhomboids. They connect along the medial border and point up diagonally to the spine.

And if you want you can draw the direction of the muscle fibers to make sure you understand the origin and insertion of each muscle. If you’re having trouble drawing this one, it would be a good one to do a tracing of. Do a tracing just like how we did in the beginning of the course. Study the pose. Study the muscles. Figure out what’s going on. Then do it again without tracing. After you do a bunch of these, you will find it pretty easy to find the landmarks of the scapula. The muscles give you a lot of clues.
Critiques
For additional help, watch my critique session on shoulder bones. I go over student submitted work and provide insights on how they can improve their assignment examples.


