Welcome to the Drawing Basics course! In this video, I’m gonna go over the structure of this course.
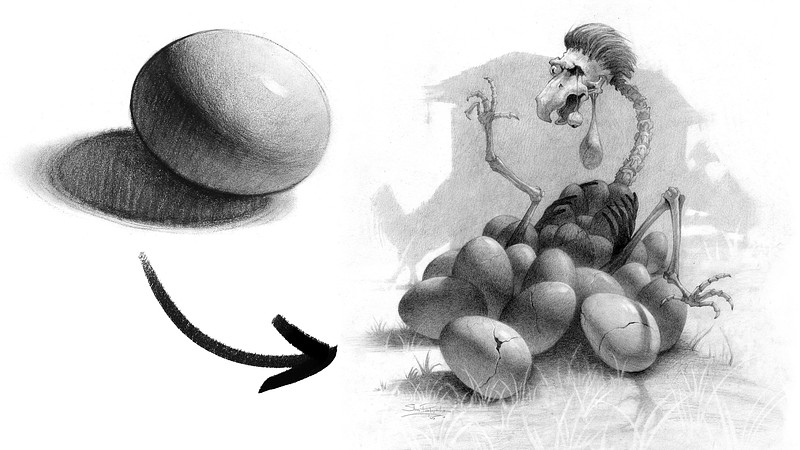
It’s designed to teach you the visual language so you can draw whatever you want to draw, using reference, or completely out of your imagination. By the end of this course, you’ll be able to design your own characters, draw them with clean, confident lines, in perspective, and shaded with all the right elements that reveal clear 3 dimensional forms. We’re going to do this with a lot of projects, slowly increasing the complexity to make this as enjoyable as we can.
The idea is that drawing is fun. Learning how to draw should be fun too.
I’ll demonstrate projects with various mediums to keep things fun. I’ll do some with a pencil on paper, some with markers, charcoal, and some digitally with a tablet and procreate or photoshop. But like I said in the last video, YOU can do this whole course in a sketchbook with pencil. Or if you prefer, you can do the whole thing digitally.
So, what about free stuff?
I’ll be posting free content from the course regularly. If you want all course content including extended lessons, project demonstration, and critique videos, you can get the premium course here.
What are we gonna do in this course?
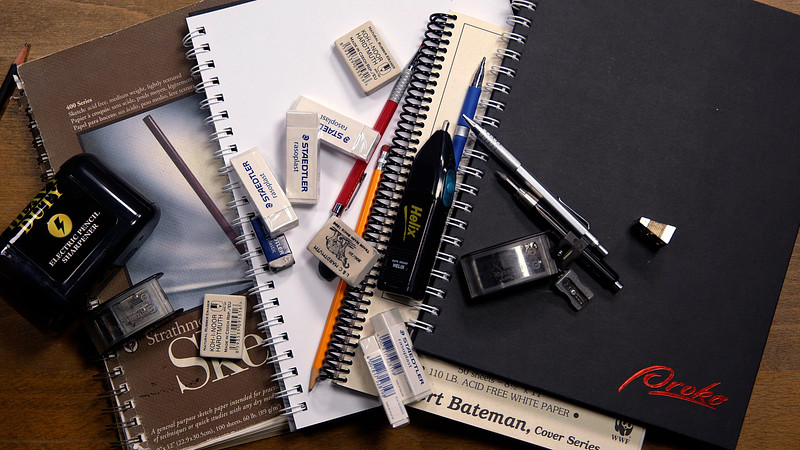
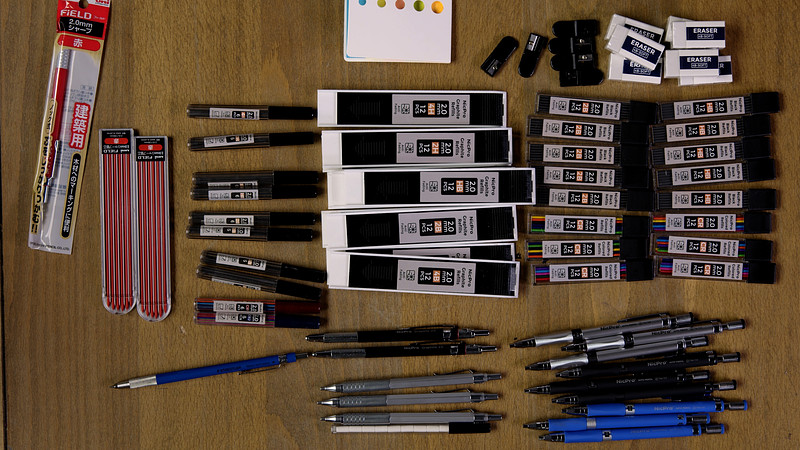
In the next few videos, we’ll finish preparing for the course, cause we’re gonna learn all about sketchbooks, pencils, erasers, and sharpeners. Then we’re gonna jump right into a project. I want you to start drawing right away, even though you haven't learned anything yet! But don't worry, I’ll guide you through it of course!
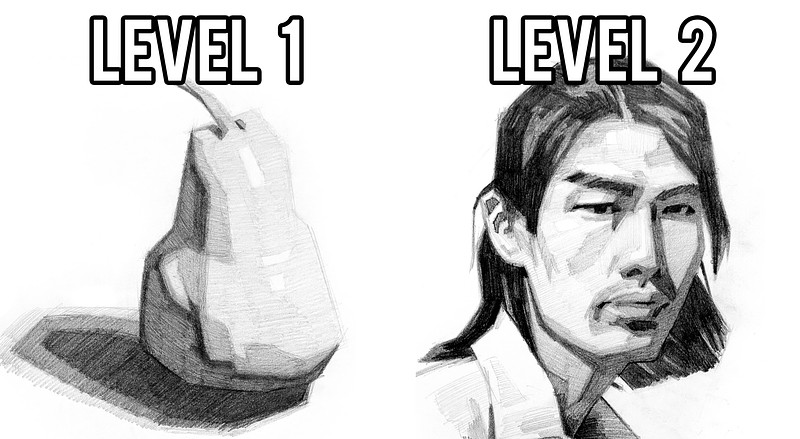
Our first project will be drawing a simplified pear or portrait from observation. It seems very simple, but I promise, you will be challenged.
Most projects in this course will have 2 levels. One for those of you who are just starting your journey of learning how to draw and another more challenging project for you intermediate students who are here to polish your fundamental skills. So, you level 2’s won't be drawing a pear. Oh no.. you’ll be busting into this course by drawing this portrait!
When we’re done with this little assessment project, we’re gonna reel it back a bit and start the first major category of lessons: Line
The course will have 5 major categories (These are the key concepts you need to understand to draw and sketch 3 dimensionally)
- Line
- Shape
- Perspective
- Value
- Edge
LINE
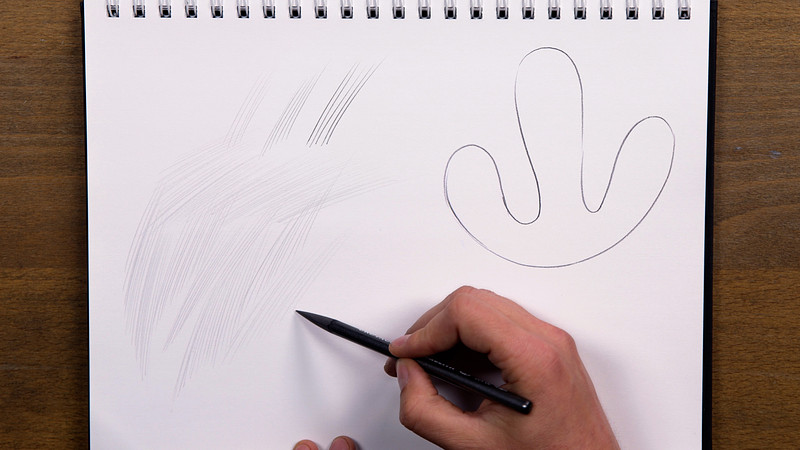
I’ll teach you the emotional power of lines, all the way we use lines, and start practicing to draw with a tapered stroke. I’ll try to get you to develop habits for good line quality, including a bunch of warm-up exercises and master studies. And we’ll explore how and why to control line weight.
SHAPE
We’ll start by simplifying things into basic shapes. Then we’ll learn how to make shapes dynamic and interesting. The importance of silhouettes, and several projects along the way leading to us designing our own characters!
PERSPECTIVE
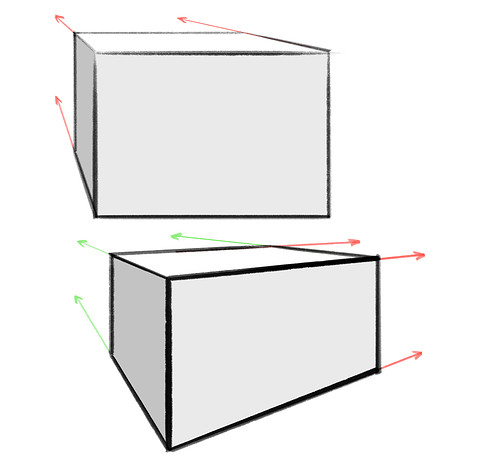
Structure and Perspective is going to be a large section in the course. We’ll learn about 5 ways to create depth, how perspective works, 2 and 3 point perspective, boxes, and cylinders. And then we’ll jump into Intuitive Perspective, where we’ll toss away any grids or vanishing points and we’ll try to develop our ability to imagine 3D form and construct forms freehand. We’ll learn some tricks and practice a lot from reference and from imagination.
VALUE
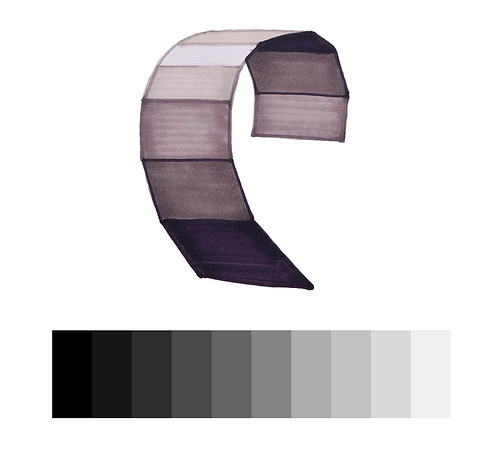
Once we’re comfortable drawing forms in perspective, we’ll move on to Values, our first step to shading those forms. Values are how light and dark things are. So we’ll start thinking about the little plane changes on the forms and the relationships of those planes to the light source. It’ll be important at that point to start improving our ability to see accurate values, just like how we will train our eye to see accurate proportions in the shape section.
EDGES
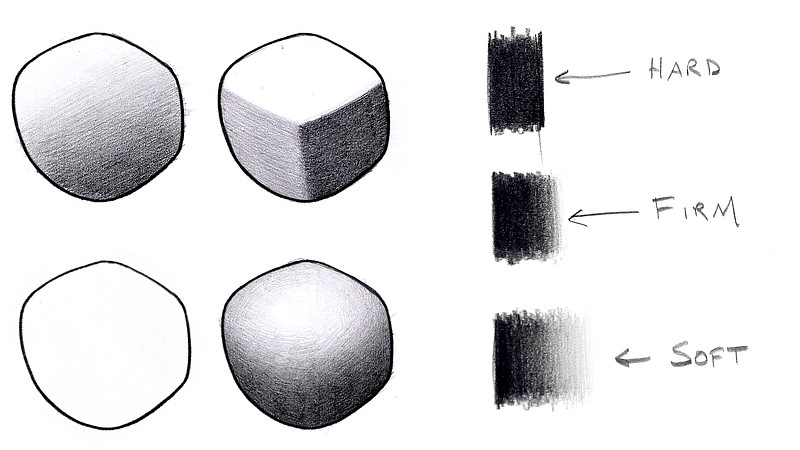
The last ingredient to be able to shade light on form is Edges. These are the transitions between the shapes and values. This is important because it tells us about the surface forms within the lines we draw. Edges tell us if this shape is relatively flat, round, or has a sharp corner here.
The professional artists that you look up to, they’ve mastered these fundamentals to the point that they’re intuitive. When you’re done with this course, you can take these fundamental concepts and apply them to character design, portraits, environments, realistic figure drawing, cartooning, and whatever else you want to pursue! These are the core underlying concepts that you will use no matter what subject matter you’re drawing.
These concepts are essential to learning how to paint (digitally OR traditionally). I’m not telling you what to make, I just want to give you the knowledge you need, and show you how to practice to get good enough to draw what you want.
How is the course structured?
Every topic we will start with a main lesson. Main lessons are fast-paced and packed with information. You should take notes and consider rewatching these.
The current preliminary outline of this course (which will evolve as I go through it) has 40 main lessons. Throughout the course, I’ll sprinkle in some warm-up exercises. Most of the lessons have 1 or 2 projects, all of which I will demonstrate. Then you’ll do your projects, submit them in the assignments tab and I will make critique videos.
If you do the course at the pace that I release the lessons, and you do the assignments, you have a chance to be in the critique videos, but if you need to slow down and spend more time on a lesson, feel free to go at your own pace. These lessons build on each other so you want to feel comfortable with each concept before you move on. But when I say “comfortable”, I don’t mean that you need to master each concept before you move on...just comfortable enough. If you linger on a lesson for too long, you risk never finishing the course.
And I want you guys to follow through! Do what you need to do to stay motivated. Go to the discussion in the course, find a study partner, get a whole group going, do your assignments together, share notes, and most importantly keep each other accountable and motivated. One of the biggest things that you don't get from studying online, that you do from college is community. So, you have to actually put effort into creating that for yourself. A community can really help you out when you get stuck or frustrated.
As we move through the course, I’ll be giving you warm-up exercises to do before every drawing session. Warm-ups are a good way to practice hand-eye coordination and improve your ability to see accurately a little bit at a time. And these simple exercises will get you ready to draw, by loosening up your arm and focusing your mind. You are like an athlete warming up before a game.
And this probably goes without saying, but don’t skip the projects... You’ll probably improve a little by binge-watching the videos. But you’ll get much better much faster if you take the time to practice and internalize each lesson and do the projects.
If all you have is 30-60 minutes every day after work or school, you have enough time to do this course. It might take you longer than someone else, but that’s ok. If you have more time, awesome, really spend the time and do it right. If you’re plowing through really fast and you find yourself waiting for the next lesson, you can always repeat a project a few times to get a better understanding of the concept.
As you’re learning these concepts, if you get inspired to apply them to your own creative projects or sketches, feel free to do that. You’ll learn the concepts even more if you play and experiment.
Don’t just copy my project examples. Do them on your own first. Then watch my demos and take notes on what you could do better. You can copy mine afterward, but if you do, make sure you try the project again without looking at mine, trying to apply what you learned from copying. I know this sounds like a lot of drawing and redrawing and redrawing.. But hey, you’re drawing! Drawing is fun!
Other than submitting your projects in the assignments tab, post them on your favorite social network with #proko.
And as always, I appreciate you. If you enjoy the lessons, please tell your friends, tell your classmates, tell your teachers. Your word of mouth really helps to make the course better and funds the free videos we make. Thank you for watching!
In the next few lessons, we’re gonna get you started with the right drawing materials. We’ll go over the options and how to use them.

